

A DIY School-Paper Station You Can Make With Supplies You Already Have
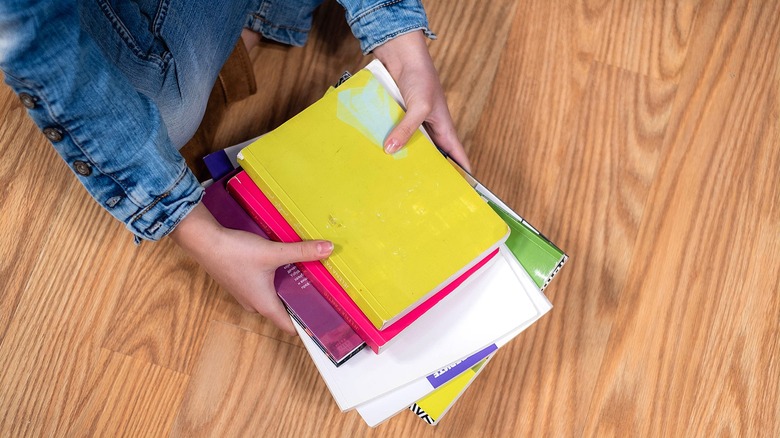
One of the more annoying aspects of having children in school is the amount of papers they come home with each week. Considering there are always homework assignments to complete, request forms to sign, and event flyers to review, having a reliable way to store these items after school hours can help keep you (and your children) more organized. Luckily, you don't have to run to the nearest craft store to create a workable solution. Believe it or not, all you need are some empty cereal boxes, a sturdy roll of tape, glue, and a sharp pair of scissors.
Sure enough, there's more than one creative way to make a functional paper organizer out of cereal boxes as well as other cardboard boxes you may have lying around. One of the simplest ways is to cut off the top third of a fully-intact cereal box. This way, the box can stand upright and your child can place their school papers directly into the box without folding them. If you have more than one child, you can do this with multiple boxes stacked side-by-side on a table or kitchen counter. Just label the outside of each cereal box with each child's name.
Alternatively, to keep school papers lying flat, cut off one flat side of a box and tape the surrounding edges together to make a DIY, four-sided cardboard bin. Just make sure the box you're using is the same size (if not larger) than standard printing paper. This way, your kids can place homework and permission slips directly into these bins when they come home from school.
More unique ways to make school paper storage stations with cardboard boxes
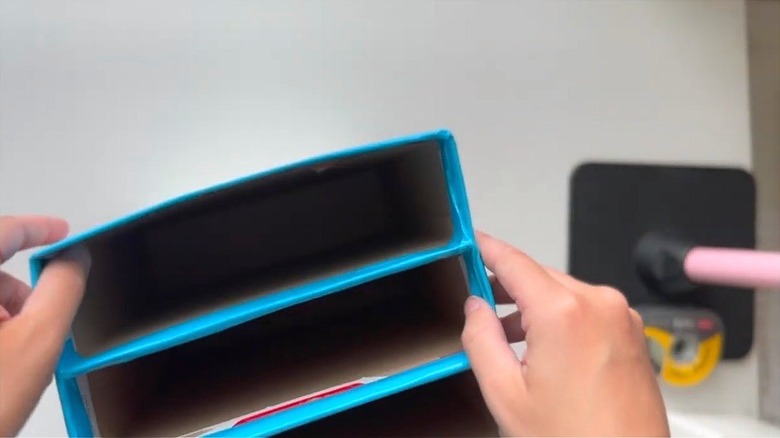
Besides striving to give your kids' backpacks and school papers one landing spot, you also want to ensure you have enough counter space to store these makeshift organizers. If you're low on space and have multiple children, you may want to make a tiered storage container by gluing three cereal boxes together and cutting all three at a downward angle. This all-in-one solution has one distinct box for each kid and is easy to move if necessary. For another layered solution, glue or tape two or three boxes on top of one another and cut off the external flaps. This way, each child has one distinct cubby or shelf for their own, individual papers.
These multiple box organizers are also effective for one child to divide their take-home materials into separate compartments with labels like homework, event flyers, and art projects. Additionally, since there's a solid chance you'll be storing these DIY containers in an open space in your entryway, living room, or kitchen, you may want to spend some time making these paper organizers more visually appealing. Even better, make it a family craft project you can do with your kids.
Grab some glue and scrapbook paper and line the outside and inside edges with solid or patterned paper. You can also use colored masking, duct tape, or simply wrap these organizers in brown or white butcher paper. You can also give these containers a more sophisticated look by labeling each box with an at-home label maker.